
Access
Connect cross-platform accounts & identity management
Get a 360 view on game health by combining crash reporting, performance analytics, build quality and binary distributtion into one toolbox
The AccelByte Lobby service provides continuous connection between your game and players by using WebSocket. WebSocket ensures reliable, real-time data transfer by allowing two-way communication between the server and clients. Since the Lobby serves as the main hub of your game, it is related to many of our other services, including:
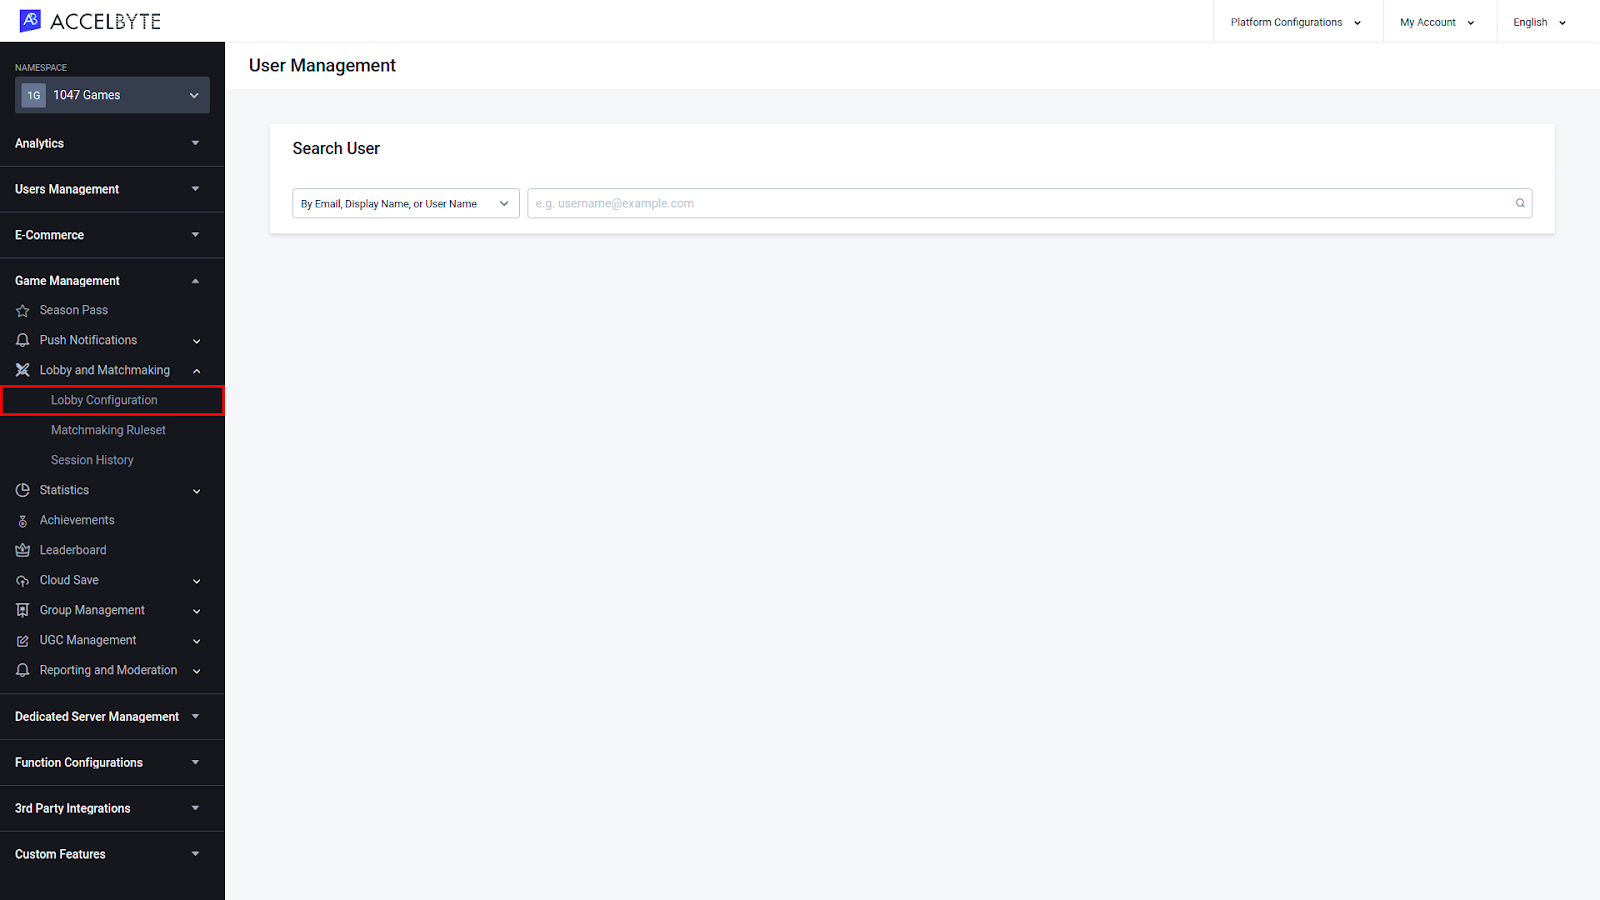
In the Admin Portal, open your game namespace, go to the Game Management section, click on the Lobby Configuration menu on the left-hand side.

On the Lobby Configuration page, you can configure your game’s Lobby by adjusting the settings below:

Lobby Concurrent User (CCU) shows the total number of active players. This value is refreshed once every minute.

This section includes general Lobby settings.

This section contains Party settings.

NOTE
These settings also apply to party leaders. If the party leader is removed from their party, the player that has been in the party longest will be automatically promoted to party leader.
This section contains Chat settings. The Chat Rate Limit Duration and Chat Rate Limit Burst settings work together to limit how many messages players can send in the chat, to prevent spamming.

When combined, these two settings determine a rate of messages per unit of time. For example, if the Chat Rate Limit Duration is 1,000 milliseconds and the Chat Rate Limit Burst is 3, then 3 messages per 1,000 milliseconds (1 second) is the rate at which sent messages are considered spam by the Lobby service. This means that chat messages that are sent at a rate of less than 3 messages per second will be sent normally and not considered spam.
This section contains Entitlements settings.

These settings work together to determine how many requests a player can make to the Lobby service before an error is returned.

When combined, these two settings determine a rate of requests per unit of time. For example, if the Duration Limit is 1,000 milliseconds and the Burst Limit is 3, then 3 requests per 1,000 milliseconds (or per second) is the minimum rate at which requests sent to the Lobby will be considered spam by the Lobby service. This means that requests that are made at a rate of less than 3 per second will be handled normally and not considered spam.
In the Admin Portal open the desired game namespace, then go to the Game Management section and open the Lobby Configuration menu.

On the Lobby Configuration page, click Export/Import Configuration in the top-right corner of the page, then click Export Lobby Configuration.

The lobby configuration of the selected game namespace will be downloaded to your computer in JSON format.
In the Admin Portal open the desired game namespace, then go to the Game Management section and open the Lobby Configuration menu.
On the Lobby Configuration page, click Export/Import Configuration in the top-right corner of the page, then click Import Lobby Configuration.

The Import Lobby Configuration form appears. Click Select JSON File to browse for the lobby configuration you want to import, then click the Import button.

The selected lobby configuration will be imported.
You can connect the AccelByte Lobby service to your game by using the command below:
Once you have set up a Lobby connection, you will be able to implement social features like Presence, Party, Friends, and Chat.
This feature notifies the game of any changes to the connection to the Lobby server. The SDK already provides an auto-reconnect mechanism, but when the auto-reconnect times out you must reconnect manually.
using AccelByte.Api;
using AccelByte.Core;
using AccelByte.Models;
lobby.Connected += delegate { };
lobby.Disconnecting += result => { };
lobby.Disconnected += result => { };
lobby.Connect();
AccelBytePlugin.GetLobby().Disconnect();
AccelBytePlugin.GetLobby().IsConnected
In this tutorial, you will learn how to use the Lobby Services. This guide assumes that you have already implemented the Login IAM (opens new window).
Create a new script called LobbyHandler.cs and attach it to the AccelByteHandler gameObject.
Add the following AccelByte libraries to the top of the script:
using AccelByte.Api;
// Get a reference to the instance of the Lobby
Lobby lobby = AccelBytePlugin.GetLobby();
// Connection
lobby.Connected += () =>{ Debug.Log("Lobby Connected"); };
lobby.Disconnecting += result => { Debug.Log($"Lobby Disconnecting {result.Value.message}");};
lobby.Disconnected += result => { Debug.Log($"Lobby Disconnected: {result}");};
The Lobby system is built around actions and callbacks, so be sure to check the signatures of the Event that you're subscribing to. For more information, you can find these models in LobbyModels.cs within the Plugin folder.
In this example, you only need to log a message or, in the case of Disconnecting and Disconnected, use the result to give the player more information.
//Connect to the Lobby
if (!_lobby.IsConnected)
{
    _lobby.Connect();
}
public void DisconnectFromLobby()
{
    if (AccelBytePlugin.GetLobby().IsConnected)
    {
        AccelBytePlugin.GetLobby().Disconnect();
    }
}
To ensure the WebSocket is closed when the game stops or when you stop using the Unity Editor, add DisconnectFromLobby() to the OnApplicationQuit() function.
private void OnApplicationQuit()
{
   DisconnectFromLobby();
}
public void ConnectToLobby()
{
    // Get a reference to the instance of the Lobby
    Lobby lobby = AccelBytePlugin.GetLobby();

    // Connection
    lobby.Connected += () => { Debug.Log("Lobby Connected"); };
    lobby.Disconnecting += result =>  { Debug.Log($"Lobby Disconnecting {result.Value.message}");};
    lobby.Disconnected += result => { Debug.Log($"Lobby Disconnected: {result}"); };

    // Connect to the Lobby
    lobby.Connect();

}
Return to LoginHandler.cs and add the following code to the success section of the user.LoginWithUsername() delegate:
...
else
{
    Debug.Log("Login successful");

    // Attempt to Connect to Lobby
    GetComponent<LobbyHandler>().ConnectToLobby();
...
Return to the Unity Editor and press Play. If you have configured your code correctly, you should see the message Lobby Connected after successfully logging in.
Congratulations! You have successfully connected to the Lobby.
Continue on for a step by step example of the UI and code implementation. Otherwise, you are now ready to move on to the Friends Service (opens new window).
Now that you have some basic Lobby functionalities in place, it’s time to tidy up your code. Follow the Singleton Pattern for this and all future handler classes.
/// Private Instance
static LobbyHandler _instance;

/// The Instance Getter
public static LobbyHandler Instance => _instance;

/// Reference to Lobby in Handler
public Lobby _lobby;


private void Awake()
{
    // Check if another Instance is already created, and if so delete this one, otherwise destroy the object
    if (_instance != null && _instance != this)
    {
        Destroy(this);
        return;
    }
    else
    {
        _instance = this;
    }
}
// Get a reference to the instance of the Lobby
_lobby = AccelBytePlugin.GetLobby();
Change all the subsequent mentions of lobby to _lobby.
GetComponent<LobbyHandler>().ConnectToLobby; with LobbyHandler.Instance.ConnectToLobby();....
else
{
Debug.Log("Login successful");
// Attempt to Connect to Lobby
LobbyHandler.Instance.ConnectToLobby();
...
using AccelByte.Models;
using AccelByte.Core;
public class NotificationHandler : MonoBehaviour
{
    // Collection of connection notifications
    #region Connections
    /// Called when lobby is connected
    public void OnConnected()
    {
            Debug.Log("Lobby Connected");
    }

    /// Called when connection is disconnecting
    /// <param name="result"> Contains data of message</param>
    public void OnDisconnecting(Result<DisconnectNotif> result)
    {
            Debug.Log($"Lobby Disconnecting {result.Value.message}");
    }

    /// Called when connection is being disconnected
    /// <param name="result"> Contains data of websocket close code</param>
    public void OnDisconnected(WsCloseCode result)
    {
            Debug.Log($"Lobby Disconnected: {result}");
    }
    #endregion
}
...
[HideInInspector]
public NotificationHandler notificationHandler;

private void Awake()
{
    ...

    // Get the the object handler
        notificationHandler = gameObject.GetComponent<NotificationHandler>();
}
public void ConnectToLobby()
{
        ...

        // Connection
        _lobby.Connected += notificationHandler.OnConnected;
        _lobby.Disconnecting += notificationHandler.OnDisconnecting;
        _lobby.Disconnected += notificationHandler.OnDisconnected;

        ...
}
public void RemoveLobbyListeners()
{
    //Remove delegate from Lobby
    //Connection
    _lobby.Connected -= notificationHandler.OnConnected;
    _lobby.Disconnecting -= notificationHandler.OnDisconnecting;
    _lobby.Disconnected -= notificationHandler.OnDisconnected;
}
Congratulations! You have now fully implemented the Lobby connection, which is the gateway to many of AccelByte’s services using WebSocket.
Proceed to the next section to learn how to implement the Friends Service (opens new window).
// Copyright (c) 2021 - 2022 AccelByte Inc. All Rights Reserved.
// This is licensed software from AccelByte Inc, for limitations
// and restrictions contact your company contract manager.

using UnityEngine;
using AccelByte.Api;

public class LobbyHandler : MonoBehaviour
{
    /// <summary>
    /// Private Instance
    /// </summary>
    static LobbyHandler _instance;

    /// <summary>
    /// The Instance Getter
    /// </summary>
    public static LobbyHandler Instance => _instance;

    /// <summary>
    /// The Instance Getter
    /// </summary>
    private Lobby _lobby;

    [HideInInspector]
    public NotificationHandler notificationHandler;


    private void Awake()
    {
        // Check if another Instance is already created, and if so delete this one, otherwise destroy the object
        if (_instance != null && _instance != this)
        {
            Destroy(this);
            return;
        }
        else
        {
            _instance = this;
        }

        // Get the the object handler
        notificationHandler = gameObject.GetComponent<NotificationHandler>();
    }

    /// <summary>
    /// Connect to the <see cref="Lobby"/> and setup CallBacks
    /// </summary>
    public void ConnectToLobby()
    {
        //Get a reference to the instance of the Lobby
        _lobby = AccelBytePlugin.GetLobby();

        //Connection
         _lobby.Connected += notificationHandler.OnConnected;
         _lobby.Disconnecting += notificationHandler.OnDisconnecting;
         _lobby.Disconnected += notificationHandler.OnDisconnected;

        //Connect to the Lobby
        if (!_lobby.IsConnected)
        {
            _lobby.Connect();
        }
    }

    public void RemoveLobbyListeners()
    {
        //Remove delegate from Lobby
        //Connection
        _lobby.Connected -= notificationHandler.OnConnected;
        _lobby.Disconnecting -= notificationHandler.OnDisconnecting;
        _lobby.Disconnected -= notificationHandler.OnDisconnected;
    }

    public void DisconnectFromLobby()
    {
        if (AccelBytePlugin.GetLobby().IsConnected)
        {
            AccelBytePlugin.GetLobby().Disconnect();
        }
    }

    private void OnApplicationQuit()
    {
        // Attempt to Disconnect from the Lobby when the Game Quits
        DisconnectFromLobby();
    }
}
// Copyright (c) 2021 - 2022 AccelByte Inc. All Rights Reserved.
// This is licensed software from AccelByte Inc, for limitations
// and restrictions contact your company contract manager.

using UnityEngine;
using AccelByte.Models;
using AccelByte.Core;

public class NotificationHandler : MonoBehaviour
{
    #region Notifications

    // Collection of connection notifications
    #region Connections
    /// <summary>
    /// Called when lobby is connected
    /// </summary>
    public void OnConnected()
    {
        Debug.Log("Lobby Connected");
    }

    /// <summary>
    /// Called when connection is disconnecting
    /// </summary>
    /// <param name="result"> Contains data of message</param>
    public void OnDisconnecting(Result<DisconnectNotif> result)
    {
        Debug.Log($"Lobby Disconnecting {result.Value.message}");
    }

    /// <summary>
    /// Called when connection is being disconnected
    /// </summary>
    /// <param name="result"> Contains data of websocket close code</param>
    public void OnDisconnected(WsCloseCode result)
    {
        Debug.Log($"Lobby Disconnected: {result}");
    }
    #endregion

    #endregion
}
// Copyright (c) 2021 - 2022 AccelByte Inc. All Rights Reserved.
// This is licensed software from AccelByte Inc, for limitations
// and restrictions contact your company contract manager.

using System;
using System.Collections;
using System.Collections.Generic;
using UnityEngine;
using AccelByte.Api;
using AccelByte.Models;
using AccelByte.Core;
using UnityEngine.Serialization;
using UnityEngine.UI;

public class LoginHandler : MonoBehaviour
{
    /// <summary>
    /// Private Instance
    /// </summary>
    static LoginHandler _instance;
    /// <summary>
    /// The Instance Getter
    /// </summary>
    public static LoginHandler Instance => _instance;
    private void Awake()
    {
        //Check if another Instance is already created, and if so delete this one, otherwise destroy the object
        if (_instance != null && _instance != this)
        {
            Destroy(this);
            return;
        }
        else
        {
            _instance = this;
        }

    }

    [SerializeField]
    Button loginButton;
    [SerializeField]
    Text statusText;
    [SerializeField]
    InputField usernameInputField;
    [SerializeField]
    InputField passwordInputField;
    [SerializeField]
    RectTransform loginPanel;

    private void OnEnable()
    {
        //When we Activate, set the Text of the Login Status
        //and add the Login Call to the Button's listener
        statusText.text = "Please Login";
        loginButton.onClick.AddListener(()
            =>
        {
            statusText.text = "Attempting Login";
            OnLoginClick(usernameInputField.text, passwordInputField.text);
        });
    }

    private void OnDisable()
    {
        //When we disable, clear all of the Listeners from the Login Button
        loginButton.onClick.RemoveAllListeners();
    }


    /// <summary>
    /// Function called to Login to AccelByte's IAM services
    /// </summary>
    /// <param name="username">The Username (typically an email address) of the user</param>
    /// <param name="password">The password of the user</param>
    public void OnLoginClick(string username, string password)
    {
        //Disable Interaction with the Login Button so the player cannot spam click it and send multiple requests
        loginButton.interactable = false;
        statusText.text = "Logging in...";
        //Grab a reference to the current User, even though they have not been logged in yet.
        //This also acts as the initialisation point for the whole AccelByte plugin.
        User user = AccelBytePlugin.GetUser();
        //Calling the Login Function and supplying a callback to act upon based upon success or failure
        //You will almost certainly want to extend this functionality further
        //Note that this callback is asynchronous
        user.LoginWithUsername(username, password,
            result =>
            {
                if (result.IsError)
                {
                    //If we error, grab the Error Code and Message to print in the Log
                    Debug.Log($"Login failed : {result.Error.Code}: {result.Error.Message}");
                    //Set the Status Text to display the Error if there is any
                    statusText.text = $"Login failed : {result.Error.Code}: {result.Error.Message}";
                }
                else
                {
                    Debug.Log("Login successful");

                    //Attempt to Connect to Lobby
                    LobbyHandler.Instance.ConnectToLobby();
                    //This is where we connect to Lobby
                    loginPanel.gameObject.SetActive(false);
                }

                //Enable interaction with the Button again
                loginButton.interactable = true;
            });
    }
}
